Showing posts with label zipper. Show all posts

Tuesday, May 28, 2019

Say Hello to My Little Friend Zip Pouches!


If you haven't seen the CUTENESS that is the Little Friend Zip Pouch by Minki Kim, you need to get on Instagram (she is Zeriano there) right now and follow that designer UP!  She designs the best wee bags and also happens to design great fabric.  I now own one fat quarter bundle of her Someday fabric line, and I can't wait to use it!


So.  You WILL notice the CRAAAAZY fabric combinations on these bags, aha.  That is not lost on me.  I seriously just whipped out of Camden's fabric cupboard anything that made a little bit of sense.  Because this was the first time I made the pattern, I saw these as test runs, and I planned on sending them to my nieces and nephew.  I so hope they love them!


The pattern is super easy to understand, though I do think the fabric amounts need to be better specified for the ears (bunny vs. cat).  She mentions in the pattern that an 18-inch zipper is a better choice than a 16-inch, and she is right.  The 16-inch zipper worked, but I'm glad I only had to use one of them, aha.  I did use fusible fleece batting (or whatever it's called, LOL), rather than regular batting, and that worked great.


As for the face embroidery, I just used DMC floss, and I went to town.... I am no expert, as you can tell, and I didn't pop/hide my knots.  She doesn't specify how she does it, and I am that wacko person who makes giant knots JUST IN CASE, so, they aren't popable, LOL.  Also, I have a couple books, but I was closer to my computer and reminded myself on how to do a couple stitches, like the back-stitch and satin stitch.  I'm pretty sure I failed on both accounts, but they results are still decent enough.  I felt bad leaving knots inside the bag, but I did try to leave the black knots on darker sections of fabric, where they wouldn't show as much.  I do need to work on perfecting the embroidery, for sure.


Anyway, the pattern is great, and the results are darling!  I still need to tack up the cat ears, but I wanted to hurry and get photos!

And how about a little days in the life.....

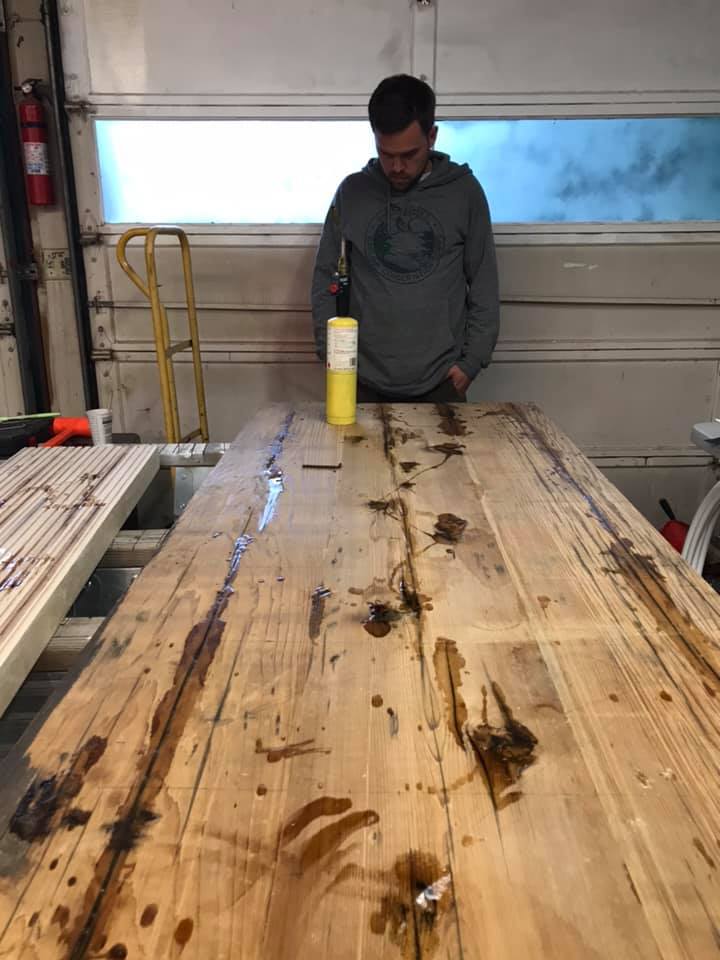
Working away on the table


A little Boss Monster


The pilot, Greg, captured a selfie, aha!


They were so lucky to fly!!!!!


Monday, September 10, 2018

Paperbag Dress for a School Girl: Modkid Claudia


Remind me again why I have NOT made the Modkid Claudia since Camden was 3??????????  (Naturally, because I want to find it SO BADLY, I cannot find a photo of her first version.)


My bad, as I love the pattern.  I need to make sure to make one more before she sizes out of this pattern.  It is so cute, and for this one in particular, I put in quite a bit of work.


I had help from my ladies at Modern Domestic in picking the coordinating fabric, as I hadn't, for whatever reason, purchased any from the same line as the main fabric.  The coordinating fabric is perfect!

Because it has been so long since I last made it, I can be sure I probably did a much better job this time around.  For example, I likely sewed it up per pattern instructions last time, but this time, I went the extra mile.  The bodice lining is first sewn to the zipper, then bodice outer is attached and top-stitched down to the zipper.  I did NOT want top-stitching, as it isn't as class on a zipper, on my opinion, and I wanted the inside finished, rather than having exposed, serged edges.  So, I had to stare at it a bit in trying to make it all work.  I sewed the lining to the skirt first, then I had to later hand-stitch the bodice outer to the skirt and the zipper - AND hand-stitch the bodice lining to the seam of the sleeve and bodice.  In making up this crazy plan, I hadn't accounted for the gap at the bottom of the zipper - on the OUTside of the dress.  YIKES.  There went the idea of being classy, aha.  I ended up ironing a small bit of fabric and hand-stitching that into the space.  I think it turned out well enough, though it clearly isn't idea.
See the bit of fabric under the zipper, to cover up the raw edge??
I will say the tie is incredibly too long for this dress.  I get the idea of wrapping it around a few times, but I actually cut the width of the fabric three times to get the length, which was still technically 14 inches shorter than what the pattern called for.  I personally would have even preferred cutting the width of fabric twice - and saved fabric.

I just think in its simplicity, it's such a fancy dress, and Camden loves it - yay!!!  She will likely wear this on her third day of school this Wednesday.  Such a fancy kid ;)

Some updates and what's happening:
First day of school!!!
How the bathroom looks so far

Yikes!!!  Need things OUT of this room!


Saturday, January 9, 2016

Something Flowered and Something Blue - Figgy's and Zonen Combo


I am THIS PLEASED with this outfit!!!

These pants fit Camden so well, and it's one of my best zipper-fly installations (like, the whole shebang, fly-guard, zipper, waistband/button and all!), which really gives it major points.

Also awesome???  Brianne of Ali Cat and Co. sent me this lovely fabric - a blue corduroy and a vintage-looking flowered (super light-weight) fabric.  I knew I wanted to use them together when she sent it to me months ago, and I had the pants cut out a few months ago and only got around to sewing it all up right before Christmas.  So glad it's all done!

I wasn't sure at first which pattern to use for the shirt, and though I know a different pattern would have worked overall better for the fabric and style of the outfit, I chose laziness because I needed it DONE and wanted to use a pattern I already had (always gotta save those duckets, yo).  I will say I am glad I didn't choose something that needed buttonholes, as my machine may have totally eaten the fabric :O  Whew.


The pants and top went together quickly...especially as I had the pants cut out so long ago.  The sewing was nice and easy, and as with the last time, I cut out a pocket facing for the front pockets...wishing I knew a way to do that for the back side.  I'd have to sew up/prep the outer pocket piece and then make a pocket lining after.  I don't like having that raw edge that the directions give you (unless I missed something, aha!) on the inside.  I REALLY want these pants to work for Tiberius in the future, as that was part of the pattern decision-making process for this fabric.  I love the style of the Jacob pants by Zonen, and the directions are great!    As for the fly installation business...????
Clearly not a crazy-detailed picture, but you get the idea!  I hope :O
I kept the Ayashe blouse by Figgy's simple and only used elastic in the sleeves.  The mandarin collar sewing process was about the same as usual.  I always struggle with perfection on getting the corners to sew up nicely.  It will be a great blouse, too, for when the weather returns to normal around here (meaning, HELLO, could we have warmer temperatures any day now???)

Bottom-line, y'all???  A quick sew, and I adore the style - especially with her mittens, aha - and dotted Vans.  Our pairings always crack me up.


Some early January happenings....
Same day as above pictures...Community Day, Monday, January 4, 2016
Practicing from THIS book!
Cats and mice!


Helping dad make fry bread